In today's digital product market, everything is built in stages. The first stage of this process is creating the idea and testing its feasability, likeability, and market competitiveness in the space. While this process is often arduous and time consuming, it is the next phase, prototyping, that continues to frustrate founders, developers, and investors alike. I have been prototyping app and software concepts for over 5 years now, and have tested almost every design tool on the market, and can say with confidence that with a short learning period and a little patience, anyone can build simple model of their intended product.
What is Figma
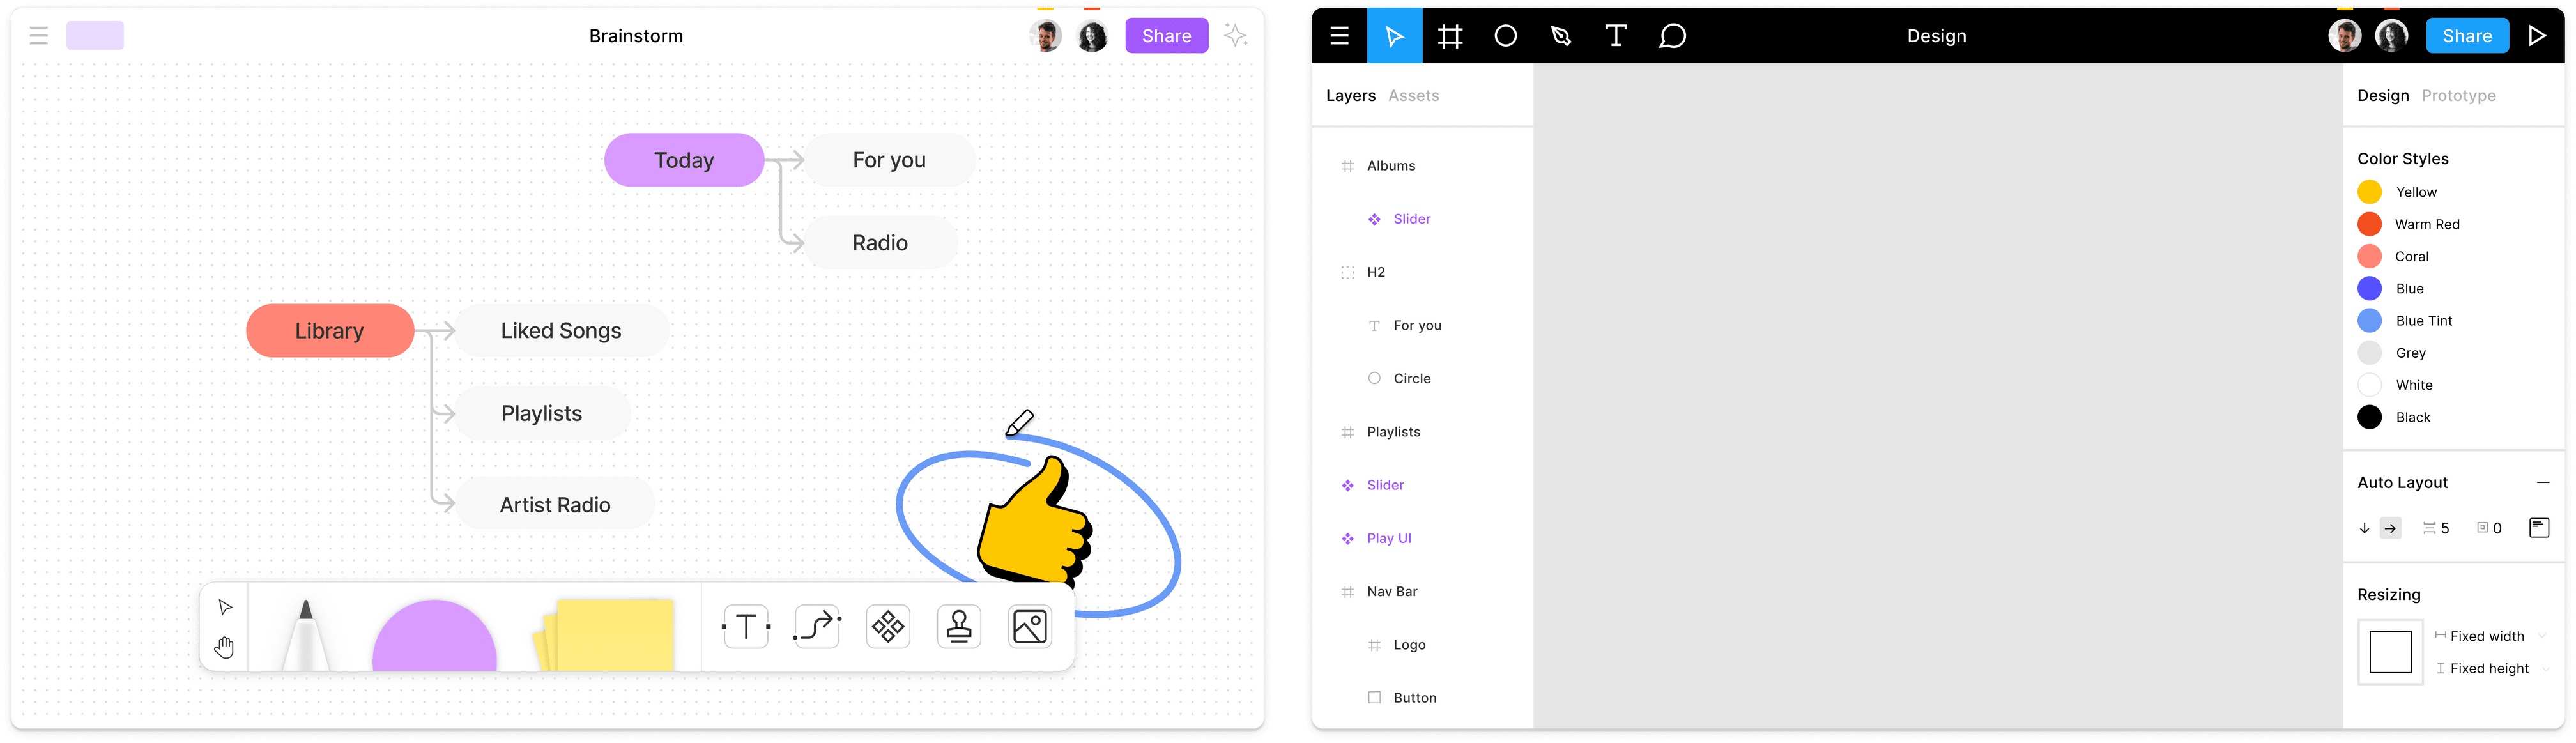
Figma is a wireframing and prototyping tool created to provide a collaborative experience when prototyping an application. With a host of standard vector editing tools, as well as more advanced options such as Morph and Auto Layout, I have found that Figma is one of the best platforms available for creating high fidelity mockups of digital experiences.
Figma is chock full of great functionality and has a host of features that are extremely helpful for getting things done quickly, and the best part is, its completely free to use for a single project with a limited number of pages! This gives everyone the chance to learn Figma, without having to pay for features that may be locked behind a paywall, presenting a unique opportunity for budding designers, entrepreneurs, or product leads to create their first project.
Why Figma?
While their are a host of other vector graphic editing programs available on the market that are geared towards prototyping, I have found that Figma has the best balance of functionality vs. ease of use as compared to the other platforms. While I will not go into detail on everything involved in this decision, there are a few great articles that explain the differences in detail.

Getting Started with Figma
Setting Up
The first logical step in the process is to create an account. You can sign up easily and for free, and the process is quick and easy to navigate. You will also need to download and install the Figma desktop application, which can be done before or after account creation, but is required to use the editor. After all of this has been done, make sure you sign into the Figma desktop application to get started.
Creating Your First Project
When you first sign into a new Figma account, your file manager will have a set of tutorial files designed to show you the basics of Figma Prototyping and FigJam (Figma's collaborative brainstorming tool). For the purposes of this walkthrough however, we will be creating our own file to get started. To do so, we will start by clicking the blue "New design file" button in the top left of your file manager.

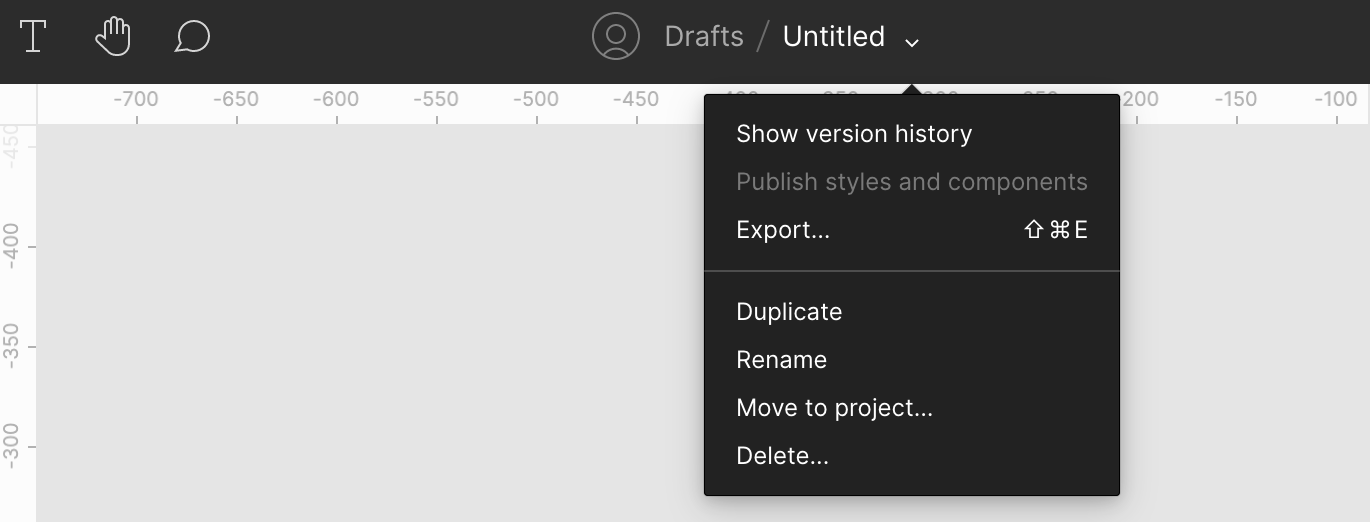
Doing so should open up a brand new, untitled workspace, which will be called "Untitled". Our first step, therefore, will be to give this project a name so that we can find it easily at a later date. You can name it whatever you would like, such as "My Test Project" or something along those lines, but it is important to name every project you create as when you have tens or even hundreds of projects, a proper naming system will make your life much easier. To change the name of the project, tap the downward facing arrow beside "Untitled" and select "Rename", and proceeed to enter the new name for your project.
Creating a Frame
Now that we have the basics of the project set up, it is time to create our first frame. Frames are the primary design spaces in a Figma project, and are typically used as "holders" for your design assets. For the purposes of this demo we will be using iPhone X sized frames, and it would be useful to consider every frame as a screen in your prototype.
To create your first frame, you can either click on the frame tool in the upper left corner of the application screen, or you can simply press "F" on your keyboard. The latter is one of many useful shortcuts in Figma that will drastically speed up your prototyping in the future.
After clicking the tool or pressing "F", you will see a sidebar appear on the right side of your screen, with a list of preset frame sizes depending on the device you are looking to prototype for. These presets are always up-to-date and are a great resource for new and experienced designers to quickly create device specific mockups. For now, simply select the "iPhone 11 Pro / X" option, and a new frame will be created for you with the corresponding dimensions.

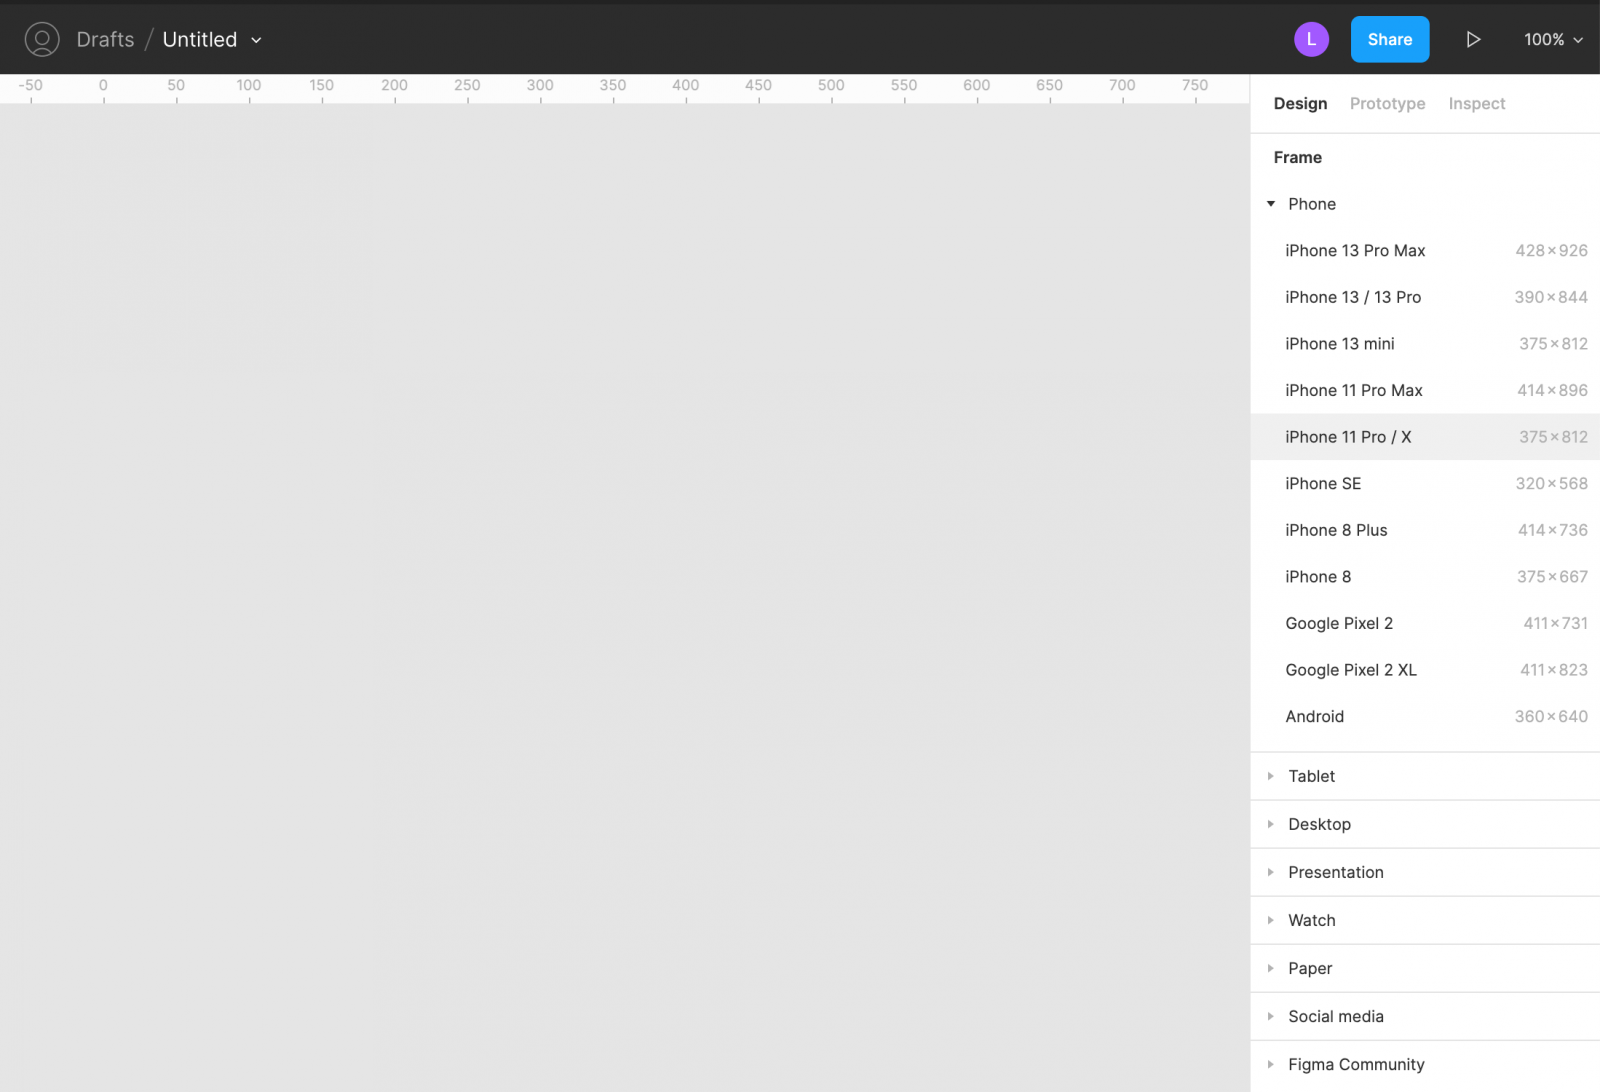
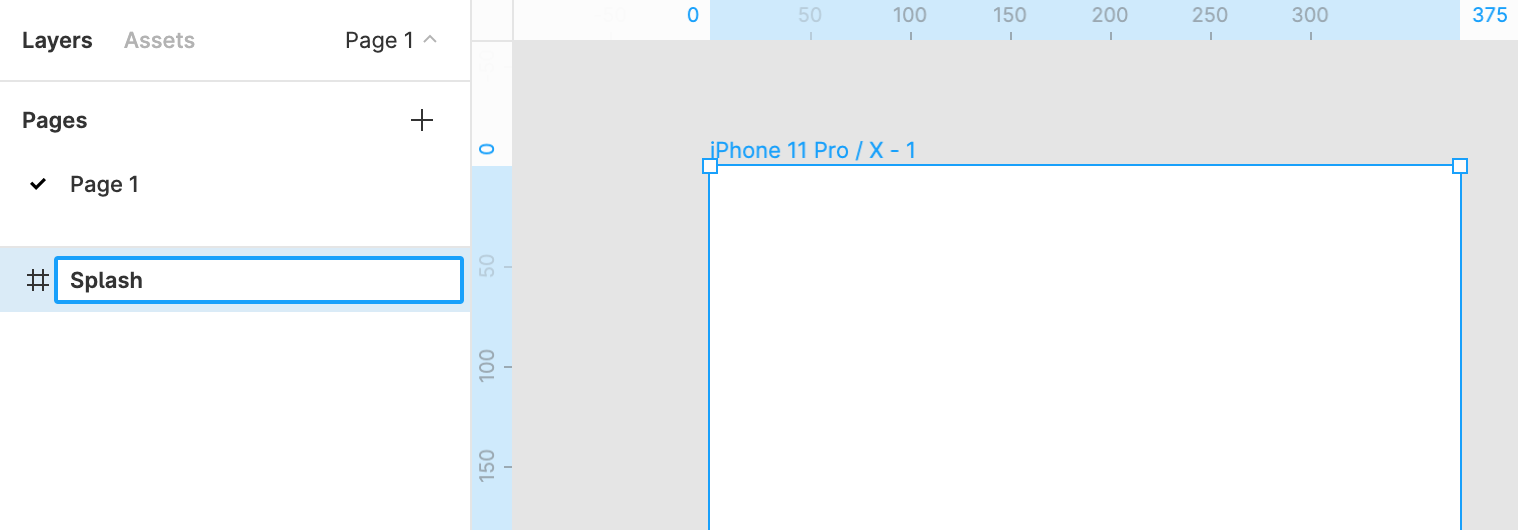
Now, similar to proper naming conventions for your projects, it is also extremely important to properly name your frames, as these will often need to be exported or referenced at a later date, and with properly named frames, you can easily find specific screens and functionalities. You will notice after selecting the "iPhone 11 Pro / X" option that a new frame has been created on the left side of your screen, named "iPhone 11 Pro / X - 1". You can rename this screen at any time by double clicking the current name and typing a new one.
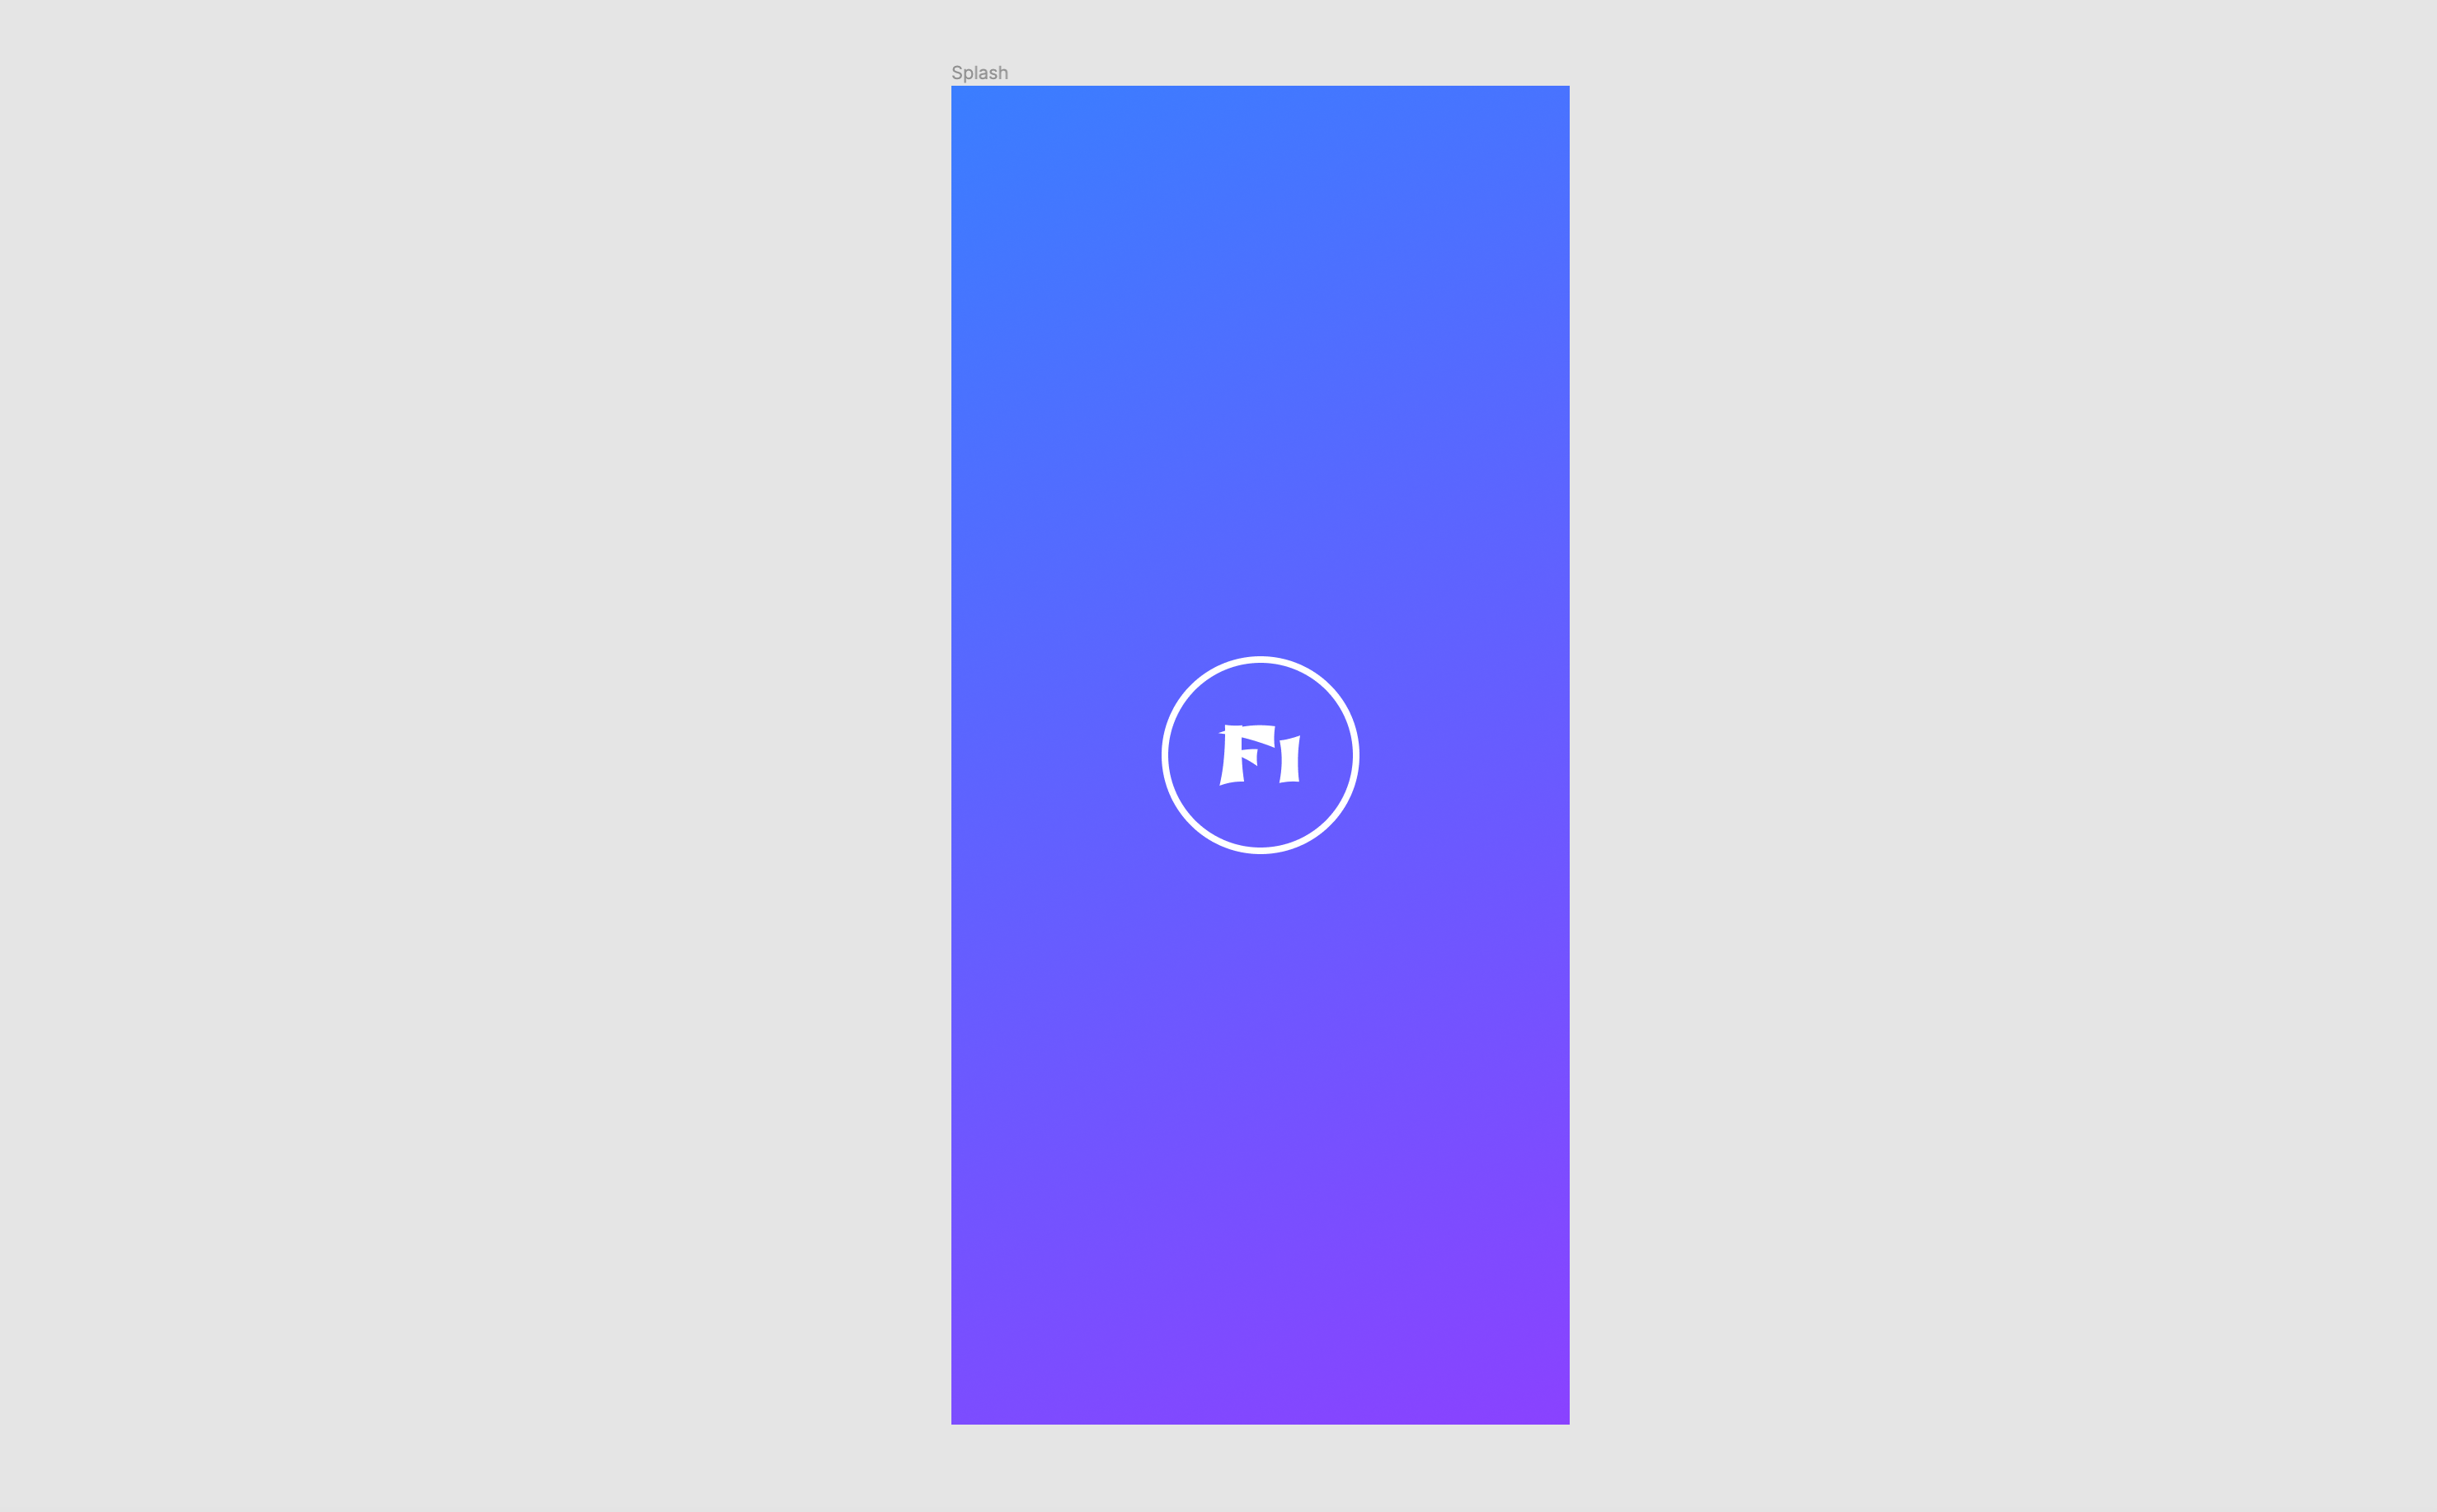
Let's do that now, renaming this frame to "Splash", thereby successfully creating and naming our first ever Figma frame.
Our First Screen Design
With our first frame created, we are now ready to design our first ever high-fidelity screen. Normally, before creating high-fidelity screens, you or your team would create low-fidelity versions of your product, outlining functional placement and the user journey quickly, and then converting those into high fidelity wireframes, however, for the purposes of this tutorial, we will not be going into that process (you can read more about this here.)
To begin this process, we must first understand what we are designing. One of the most basic screens in any prototype, as you can probably predict, is the "Splash" screen, which usually displays as a simple colored screen with a logo or graphic in the center, and serves as a launch screen while apps and websites are loading. This is what we will be designing now, as it will give us a good overview of Figma's core tools and functions.
Adding a Background
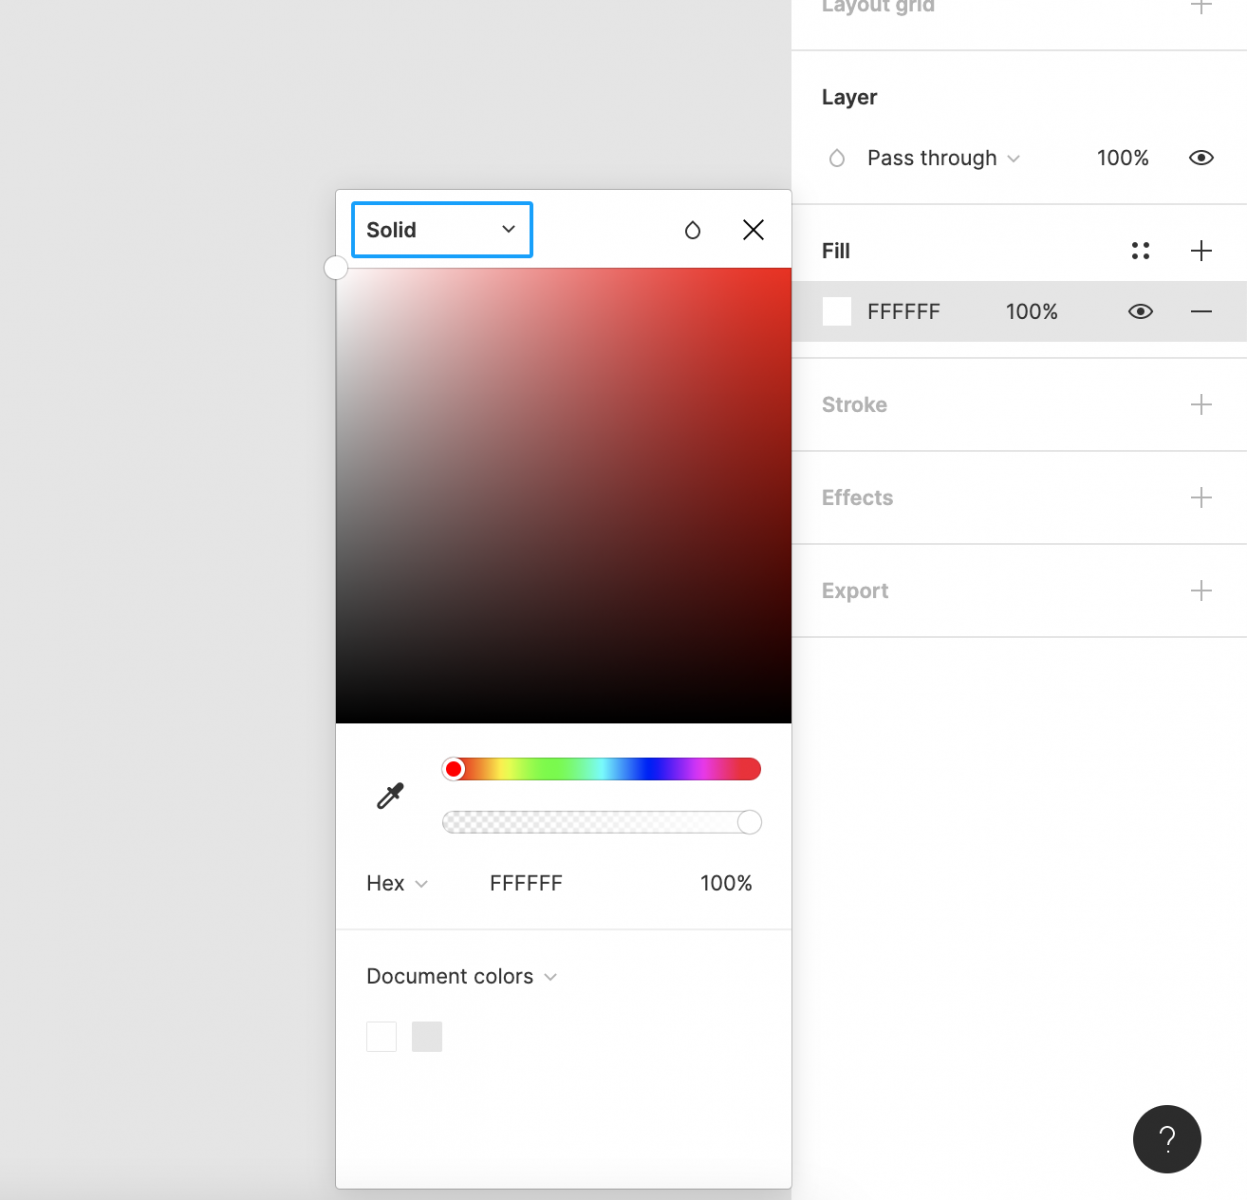
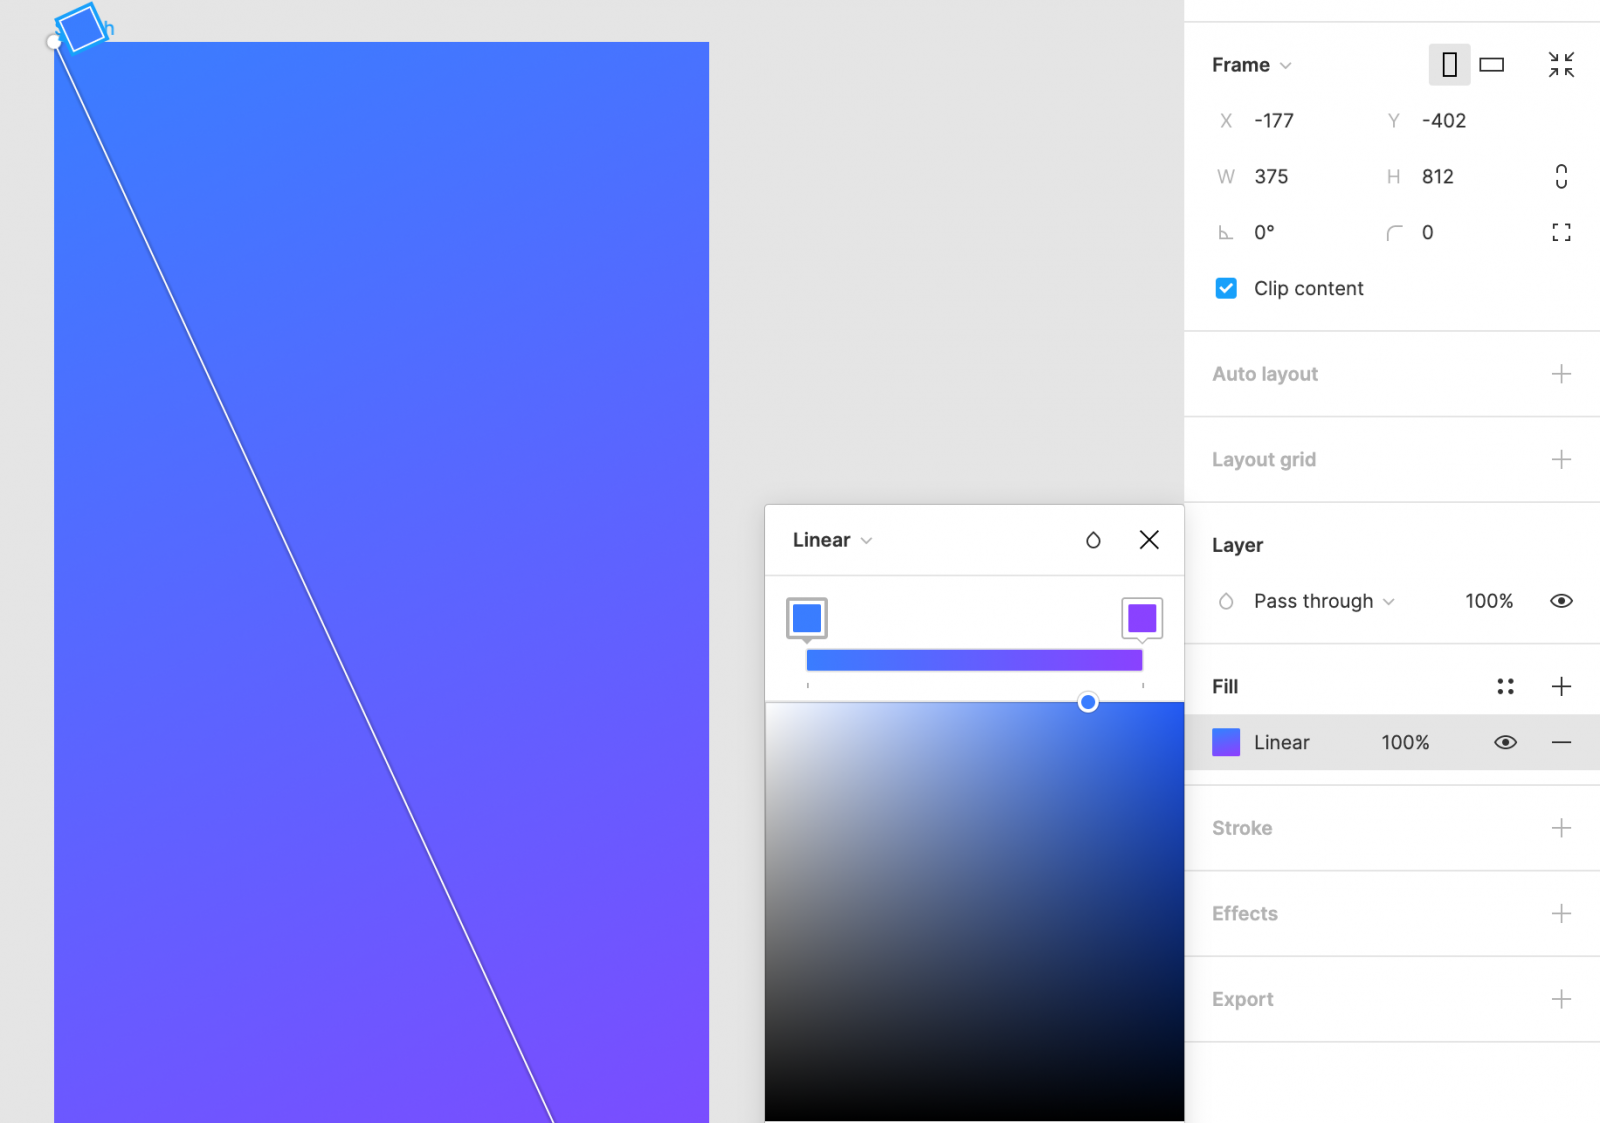
First, we want to give our frame a background. The easiest way to do so is by selecting our "Splash" frame, and then going to the righthand menu and adding a "Fill". When doing so, the "Solid" option is automatically selected, but if you tap on the downward arrow beside it, you will see a host of other fill options. For now, from the list of fill options, select "Linear" and choose two colors that you think go well together. When you are done, simply click out of the menu and your frame will already have been colored accordingly.
You may notice that two circles have appeared on your frame at the beginning and end of the gradient. You can use these to change the size and direction of your gradient, with the default being at the top and bottom of the frame.
Using the Shape Tool
With our first background added we can now get into some of Figma's other core tools.
There are a host of design functions on Figma that you can use to create stunning prototypes, but as we are just starting out, we will direct our focus to only two.
The first of these is the Shape tool, which allows you to add Rectangles, Triangles, Circles, Lines, Arrows and more to your frames. This is one of the most used tools on Figma, and will therefore be our first stop. To access the shape tool, navigate to the menu in the top left corner of your screen and select the down arrow. From there, select the "Ellipse" tool. You will know this process was successful if the shape icon in the menu is highlighted in blue and the icon is now the outline of a circle.
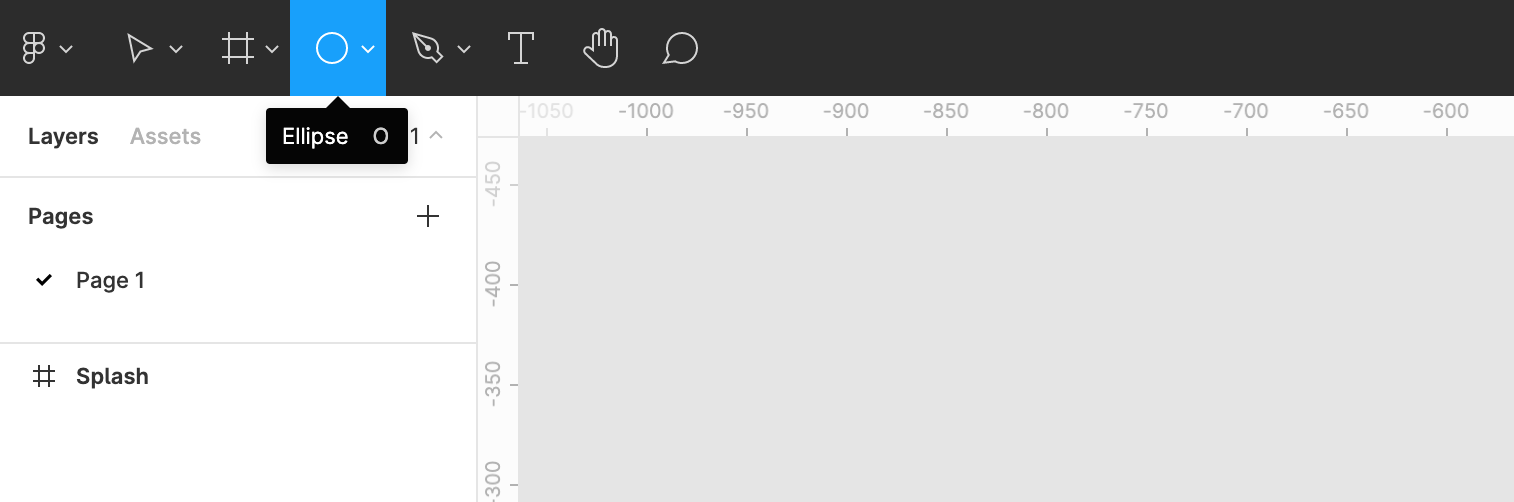
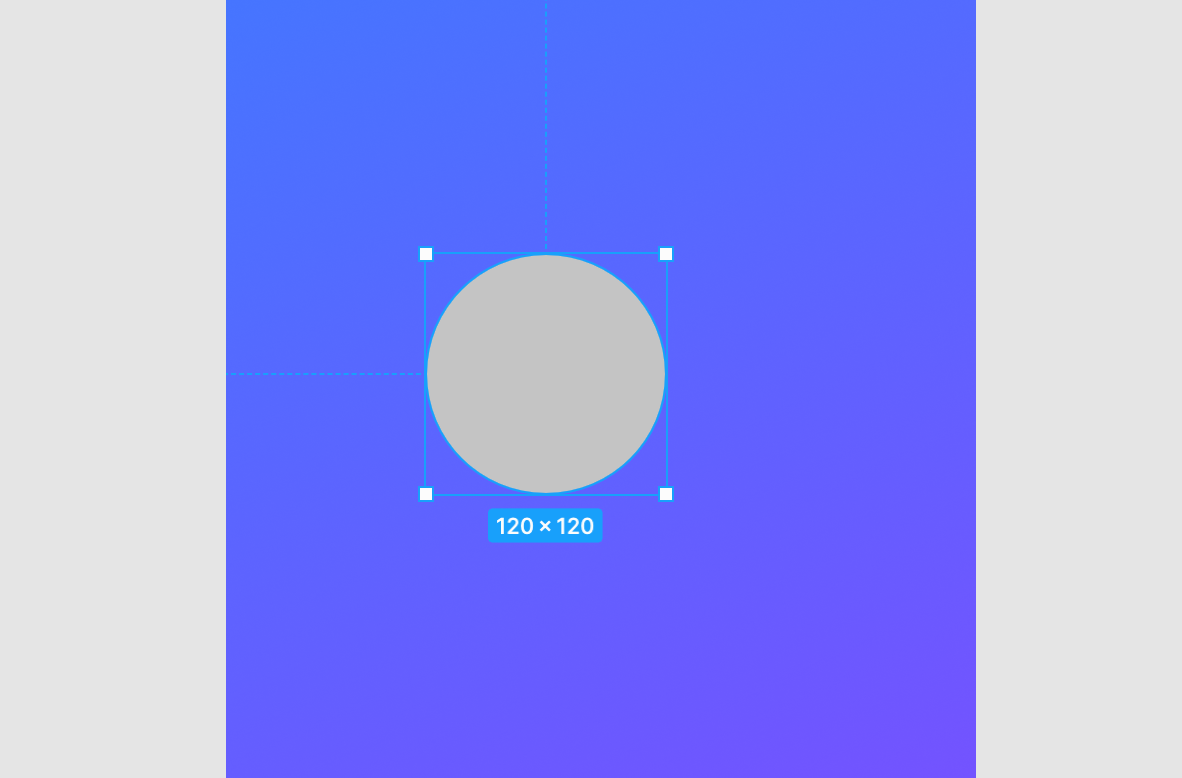
You will also notice that your mouse has changed to a cross, indiciating that the tool is active. To the use the tool, we need to click and drag our mouse across the screen which will create a preview of the circle we are going to create, as well as showing a label with the length and width dimensions of our ellipse. Now, if we want to easily create a circle, all we have to do is hold the "Shift" key while we are dragging and the length/height will be locked proportionally. Follow this method to create a circle in the center of your frame, with the dimensions 120x120 px. Make sure to center your circle in the frame (this is quite easy as dragging the circle near the center will lock the object to vertical and horizontal grid lines.
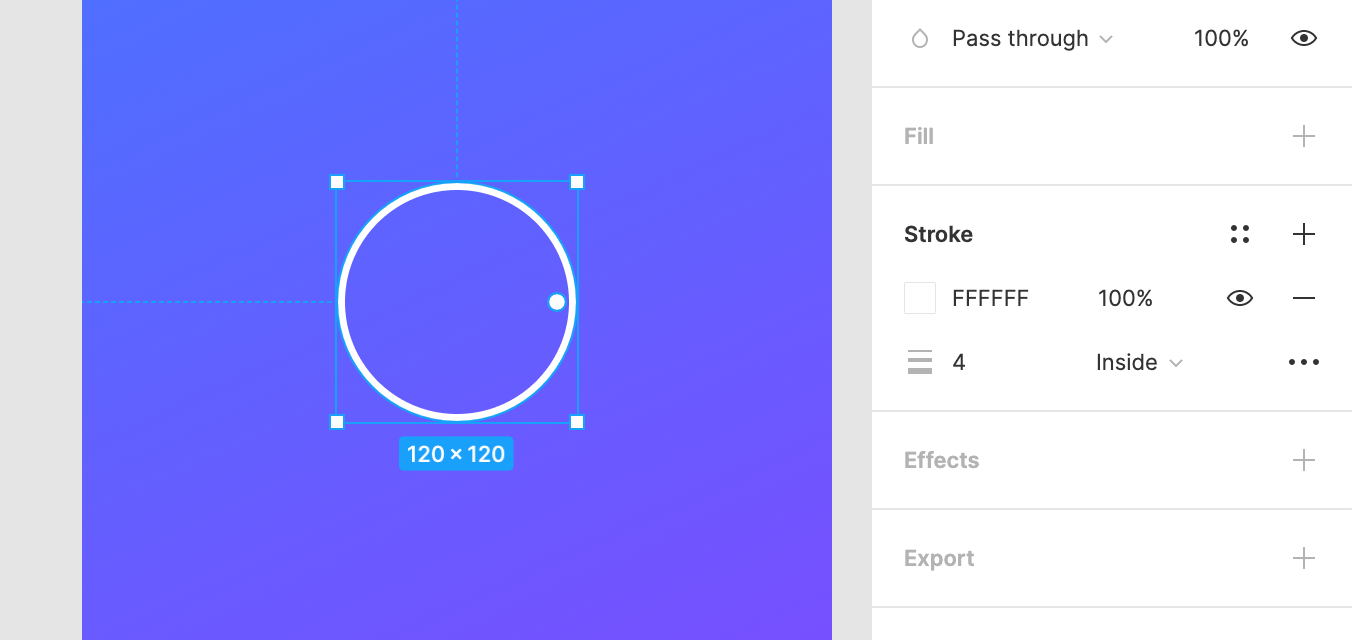
Now, with your circle still selected, navigate to the righthand menu and remove the circle's "Fill" by clicking the "Minus" icon on the right. From here, navigate one item down to the "Stroke" section, press the plus icon to the right of "Stroke" and add a 4px wide, white stroke to the circle.
Using the Text Tool
Your "Splash" frame should now be nearly complete, with a beautiful gradient background and a white circle outline in the center. To finish off this screen, we will be creating a simple, makeshift logo using the Text Tool. Just like the Shape tool, this can be accessed by clicking the "T" icon in the top lefthand corner and either clicking and draggin on your frame, or simply clicking on the frame. Once done successfully, a blinking cursor will appear on your frame, letting us know that we can now begin typing. For the purposes of this tutorial, type two characters on your keyboard to finish off the text element, (remember to center the text inside the circle.

As you can now see, the righthand menu has changed to reflect options for customizing your newly created text, with options for customizing font, font size, font weight, justification, and more. First, we will want to change our font size to better fill out the circle. You can choose any size for your text, but a size of 48px fits well inside. Next, we will want to choose a more creative font for our logo. Feel free to get creative here, but I ended up choosing "Shojumaru" if you want to follow along step by step. Don't forget to re-center your text, which has most likely moved due to the change in size.
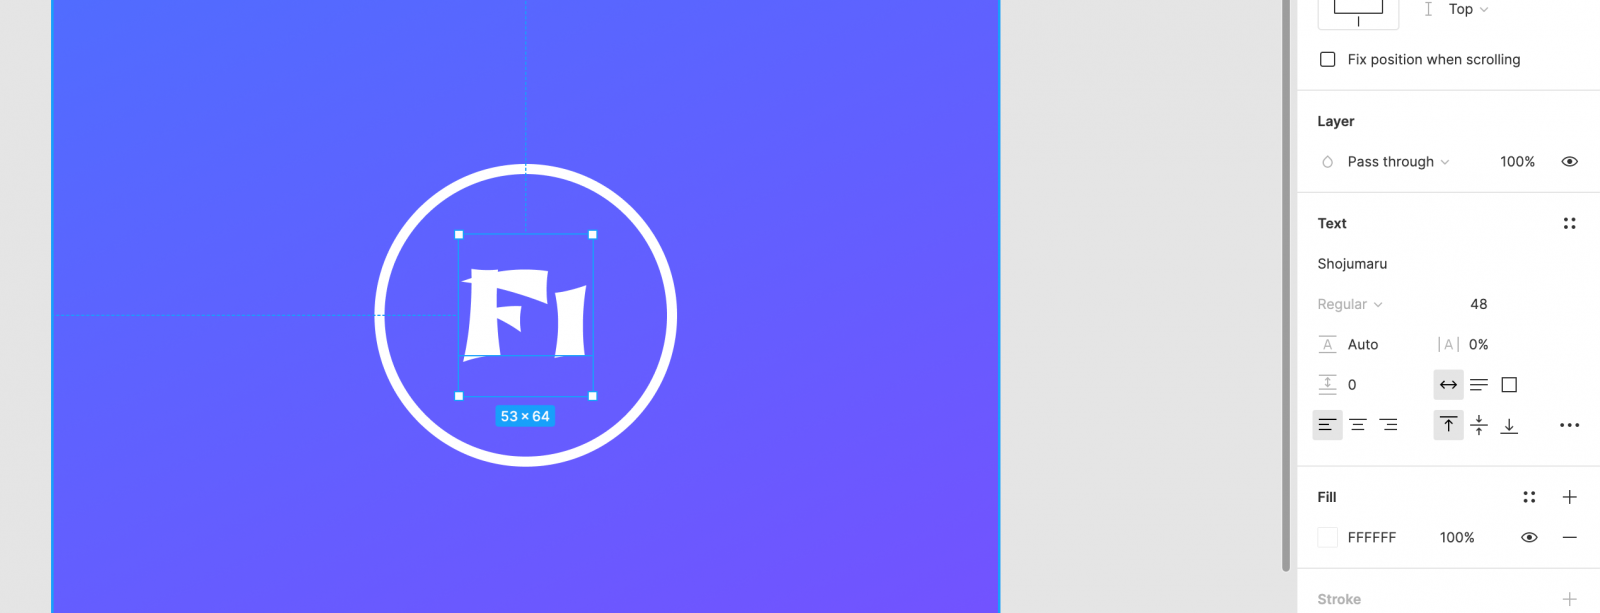
With that change, you're all done! You have successfully created your first Figma project and high fidelity frame. Continue to play around with the aforementioned tools and you'll be creating your own prototypes in no time.